


Current participants: Smoked!, ashauler, mrtr33
Purpose: To grow tobacco, in an effort to learn more about our hobby. I enjoy growing a vegetable garden each year, and I grew two small Argentinean tobacco plants last year. The two plants were great conversation starters with the neighbors (both cigarette smokers) and with my wifes gardening friends. This year I plan on cutting back the size of my vegetable garden, and tending to a few more tobacco plants. Its more of a time issue with the vegetable garden than it is an obsession with tobacco plants, however. My only goal is to get large, healthy plants. While the varieties chosen were specifically picked because they were good cigar tobaccos, I dont personally plan on cultivating these plants for cigar rolling/consumption. I think the furthest I plan on getting is drying the leaves. The others may feel differently, however.
Hopefully, this thread will end up educational, and well all learn something from it. Anyone with a comment or suggestion is more than welcome to post especially any growing resources.
Materials: A few weeks ago, I initially asked if anyone would be willing to split some seeds with me. Tobacco seeds usually come in quantities larger than what I need or can handle, even with germination rates hovering around 80%. We all decided on three varieties: Small Stock Black Mammoth, Long Red Leaf and Florida Sumatra. Im also going to send Smoked! and ashauler a few seeds from last year, the Argentinean seeds, to see if maybe they have better luck than I did. I wont have the space for one more variety. Each of us will start with approximately 15 seeds of each variety, except for the Argentinean, which there will only be about 10 each.
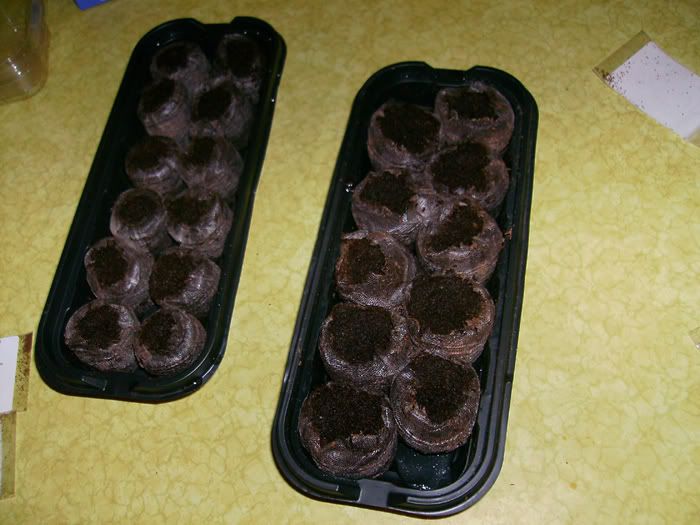
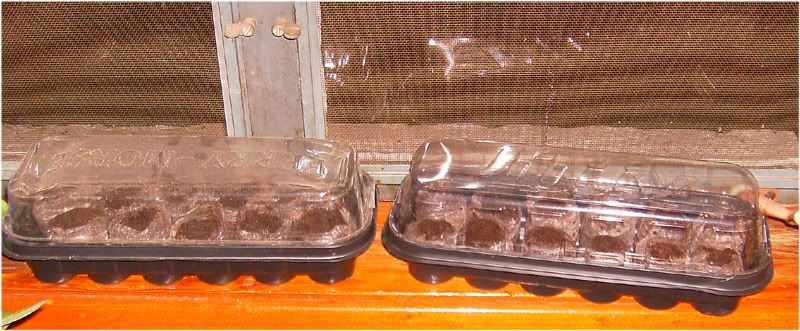
Procedure: The last frost here last year was approximately in the middle of March, which sounds about right. While tobacco is a hardy plant, its very delicate in getting started; they must be started indoors in peat moss, for best results. I am going to send out the seeds (probably tomorrow) to Smoked! and ashauler, and we should probably start getting them into the ground relatively soon. I have researched this a bit (and I know Smoked! has as well) and the best way to get these started is in little peat moss pellets the little Jiffy greenhouses work just fine. Its important to set the seeds on top of them, and not to bury them. Then, water from the bottom, and not the top. After about 6 weeks, gradually begin to introduce your seedlings to the outdoors. Remember, there is only an 80% germination rate expected!
Comments, suggestions, etc. welcomed. We hope to be meticulous about pictures and updates throughout this process.


 Reply With Quote
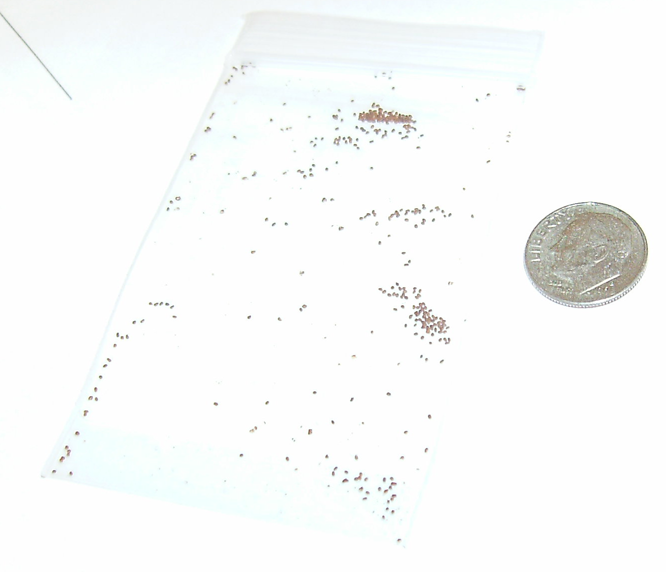


Bookmarks