Results 1 to 20 of 65

Thread: The Tobacco Plant Project

Hybrid View

Previous Post Previous Post   Next Post Next Post
  1. #1
    Join Date
    Sep 2007
    Location
    Denial.
    Posts
    400
    Blog Entries
    30

    Default Update - 04.07.2010

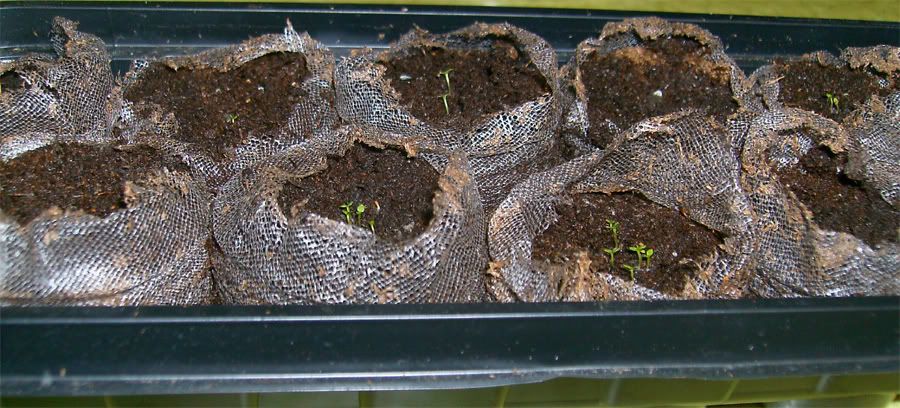
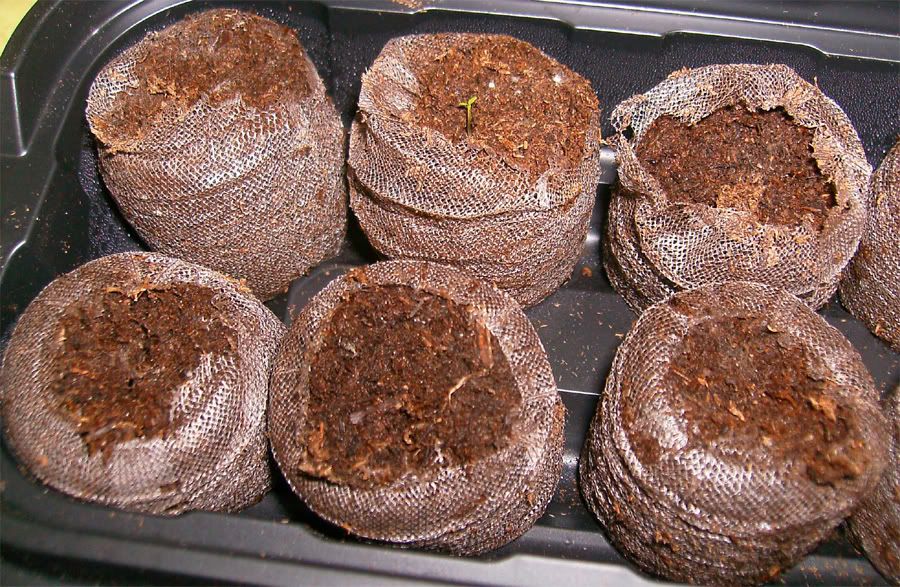
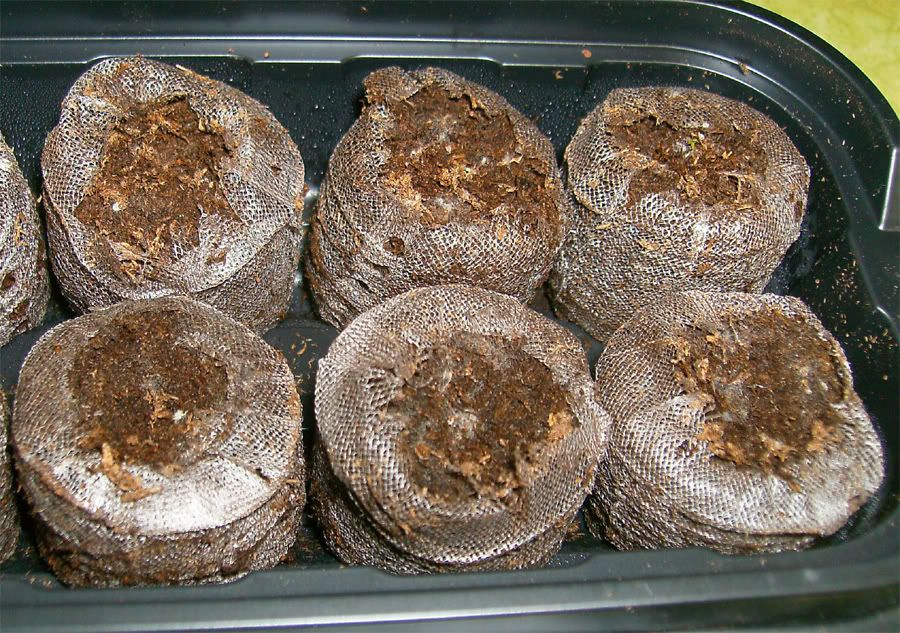
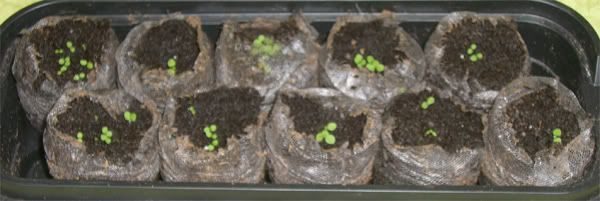
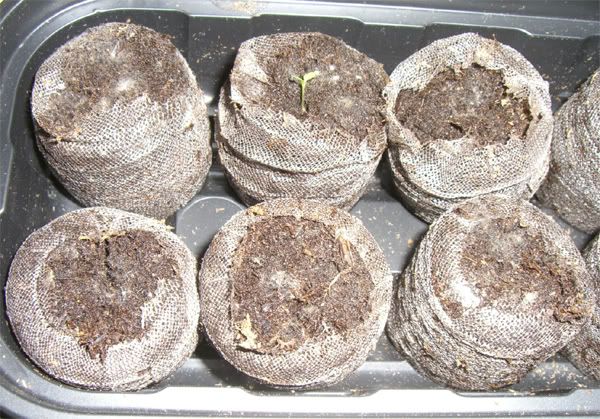
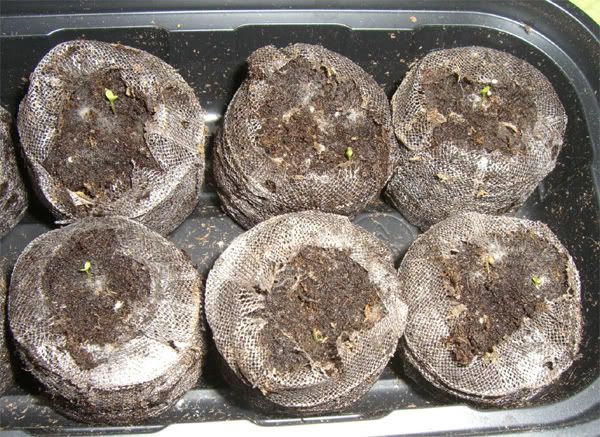
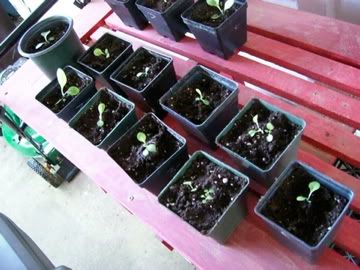
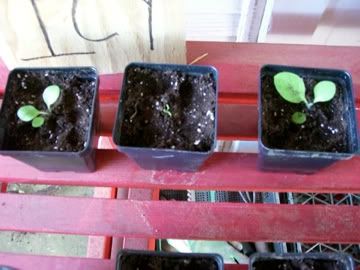
    I snapped a few photos showing the progress to date. Clearly, the Mammoth seeds have done best in the germination phase, but they are smaller than the other plants. Time to thin them out? Maybe... The other three varieties are about equal. See for yourself:

    Argentina


    Black Mammoth


    Florida Sumatra


    Long Red Leaf

  2. #2
    Join Date
    Sep 2007
    Location
    Denial.
    Posts
    400
    Blog Entries
    30

    Default Pods to Pots - 04.22.10

    It’s a great day for America!

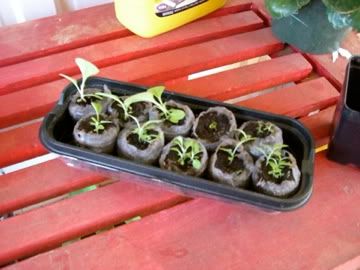
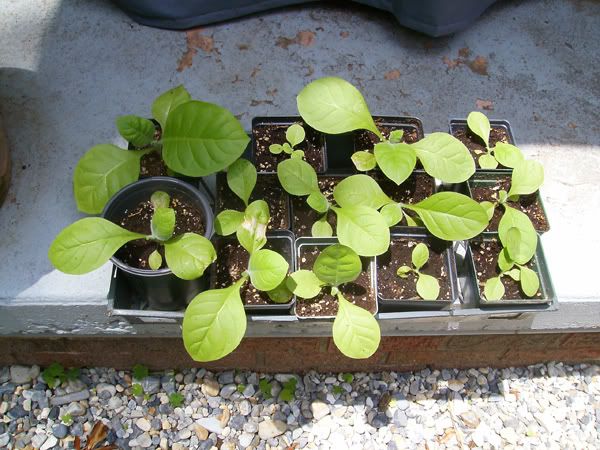
    Today, I stepped the tobacco plants up from pods to peat pots. Check out the survivors:

    Argentina –


    Florida Sumatra –


    Black Mammoth –


    Long Red Leaf –


    My first thought was to choose two or three of each variety and carefully cultivate only the finest of the seedlings. That would probably be the most efficient, well reasoned, and easily managed solution. It would require a minimum of supplies, only little effort, and an economic expense of time.

    With that understanding, and while carefully considering my options, I cracked open a cold one, counted up the supplies available (see below)… and decided to make an afternoon of it. All these little guys went in new containers today. No doubt, there will be consequences. Don’t let your friends drink and farm.

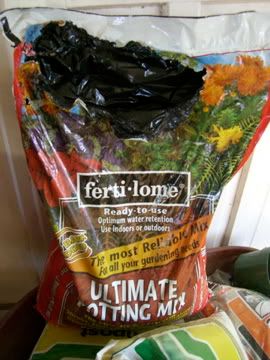
    As you can see, I picked up some potting soil with a slow-release fertilizer. Seems rather like cheating, doesn’t it? The off-brand was priced roughly forty percent less than the Miracle brand. Additionally, there was only one remaining sleeve of the large size peat pots and it was priced to move, so I loaded up my cart and cheap-skated my way to the register. Here are the goods:


    Potting is simple, repetitive process. I find it to be relaxing. It must have been quite a bit warmer than I imagined. A full six pack of my favorite carbonated barley-based beverage evaporated. Chalk it up to angel’s share. Check out the roots pushing through the netting on the pod.


    Most of the pods have a dominant seedling that will remain when the others wither or are plucked out. There are a couple considerations. For example, the Mammoth seeds hit very close to the target of eighty percent germination and most of the pods now have strong seedlings. Once they get through the transplant shock, I can remove the weakest ones. The other varieties are less vigorous.

    In most cases there is a single viable seedling. However, there are a several doubles that may both survive if I can separate them. Siamese… I mean ‘conjoined’ tomacco twins? Yeah, kinda… sorta. Look:

    From the top left, working clockwise we have: twins, twins, regular, regular, weakling, and an empty. What to do, what to do… that’ll be tomorrow’s post.


  3. #3
    Join Date
    Sep 2007
    Location
    Denial.
    Posts
    400
    Blog Entries
    30

    Default Twins split - from Sat., 04.24

    Here’ the split experiment. These are the Florida Sumatra plants. I had only a few that survived, so I wanted to try to salvage as many as I could by splitting the doubles.


    You can see that the siam… I mean, conjoined plants are really only intertwined at the feeder root level. The stalks are clear. To further complicate things and senselessly waste more bandwidth on photos, I decided to create an additional component to the experiment. Instead of splitting both twins, I will allow one pair to duke it out for the Championship of the Known Universe. It will be the World Tomacco Entertainment Smackdown. (Prize valid only in sectors where the Known Universe may be legally awarded, or a similar substitute prize may be awarded at the judge’s discretion. For those of you scoring the contest at home - please, no wagering.)

    Yeah. I know. Friends don’t let friends drink and farm. Whatever.


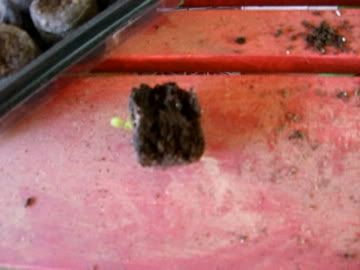
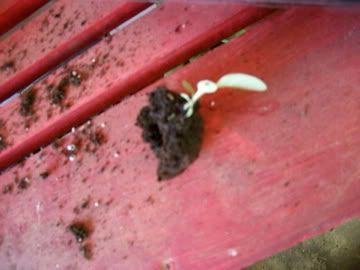
    Here’s the split pod. You can see the tap root is intact. If they can survive the initial shock and transplant stress, they should do as well as the other plants.


    Here are the marked split containers.


    But wait, there’s more!

    Check out this clinger. It looks like it’s climbing up the pod to get back on top. Maybe it’s some kind of ninja tomacco…


  4. #4
    Join Date
    Mar 2008
    Location
    around
    Posts
    2,861
    Blog Entries
    16

    Default

    So, I'm totally getting shown up here. Smoked! - you're the man.

    Attached is my pitiful attempt. I'm kind of embarrassed. In my defense, I have yet to use any fertilizer. And we have a newborn at the house, who takes up a good bit of time. But seeing that this is the only garden we'll have in the backyard (no veggies this year), it will be my primary focus.

    Mostly Black Mammoth.


    My potting mix of choice.


    Instead of the more precise, razor-blade cut to separate twins, I'm lazy. With all my transplants, I took the netting off - I remembered from last year that this encouraged root growth a bit better if it wasn't contained. I feel like this netting, over time, would disintegrate anyway, but I wanted to give the plants as much of a chance as possible.


    Finished product. We ended up with one Argentina, one Long Red Leaf, one (small, probably diseased) and 13 Black Mammoths. Not sure what happened. I was really hoping for more Long Red Leafs, and especially more (and healthier) Florida Sumatras. Hopefully, it will come along in the next few weeks.


    Long Red Leaf, Florida Sumatra, Argentina


    So, as I mentioned before, this will probably be my only garden this year. I'd like it if I had 8 salvageable plants in two weeks - large enough to plant. I'm still holding off on fertilizer, rather holding out until I get them into the ground.


    Age Quod Agis

    1 Strike

  5. #5
    Join Date
    Sep 2007
    Location
    Denial.
    Posts
    400
    Blog Entries
    30

    Default

    Nice, Mark. Looking good so far. The little sprouts will take off once they get more soil and space, as well as a dose of fertilizer. I have more pics, but no opportunity to post just yet.

    Congrats again on the new arrival!

  6. #6
    Join Date
    Mar 2008
    Location
    around
    Posts
    2,861
    Blog Entries
    16

    Default

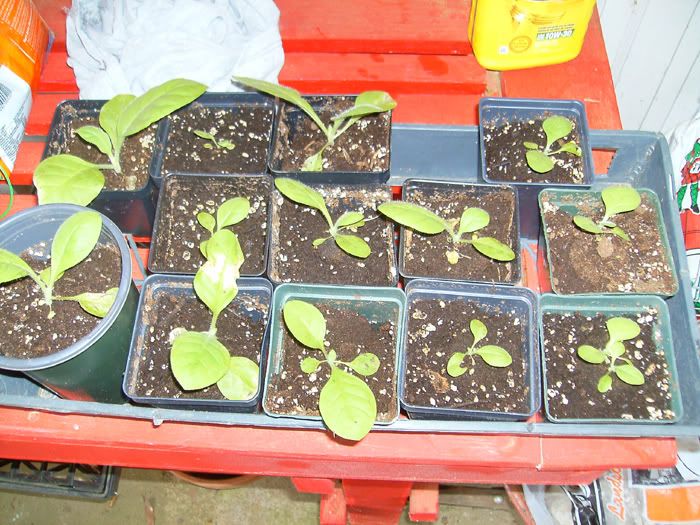
    It's been 2 weeks, so I thought I'd provide an update.

    So far, things are going good. If I had to do it over again, I think I would have exposed the plants to the elements a bit sooner than I did. I didn't get them outside until I repotted them - this was a mistake. I also learned a few things as well.

    For one thing, I immediately encountered an aphid problem. This was solved (as far as I can tell) by spraying the plants with generous portions of tobacco water. I broke up a cheapie cigar, boiled it in water like loose-leaf tea, and after it cooled, filtered the tobacco out for the brownish, pungent water. I also had a problem with slugs. Unfamiliar with these pests, I just picked the tray of pots I had them on up off of the ground at night - prime time for slug feedings. Remnants of these pests can be seen on the images below.

    My tobacco garden:


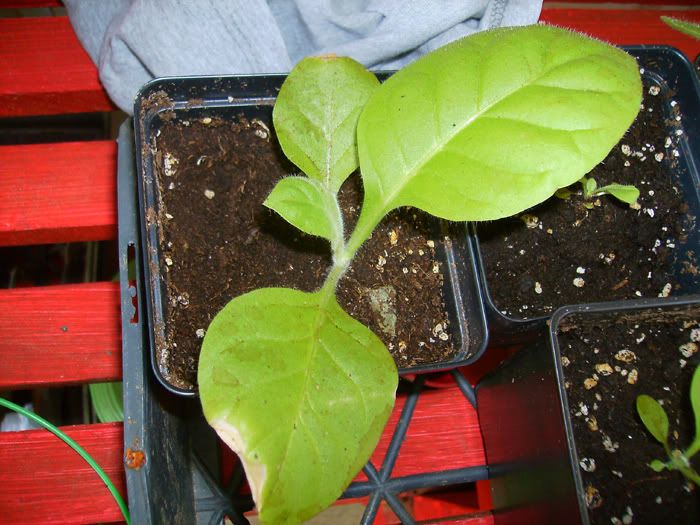
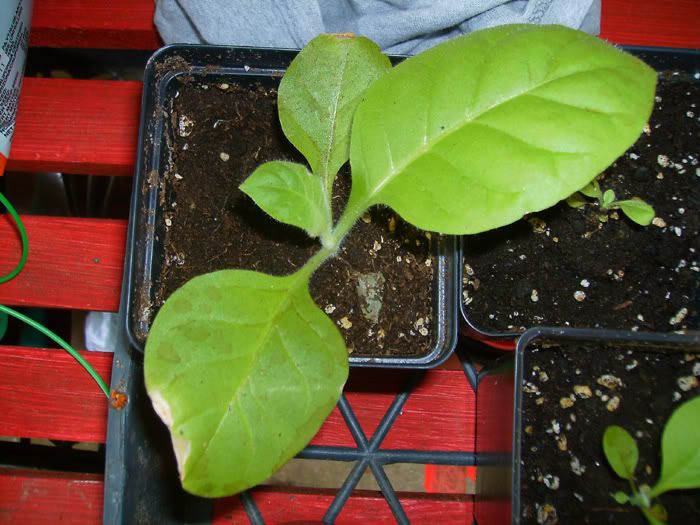
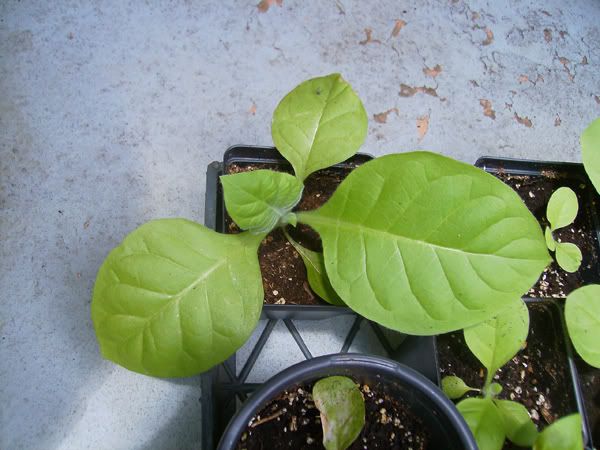
    Argentina (one plant - two pictures):
    Notice the pointy tip of the leaf - so far, that's the best way I've been able to tell it apart from the others.


    Black Mammoth (two plants - one picture):
    These have rounder tips on the ends of their leaves.


    Florida Sumatra:
    Okay, don't laugh. The fact that I got ANYTHING from this batch of seeds was amazing. And it has grown substantially since I potted it, despite it's neighbors dwarfing it. I will probably keep this in the pot for a while before transplanting it to the ground. But so far - so good.


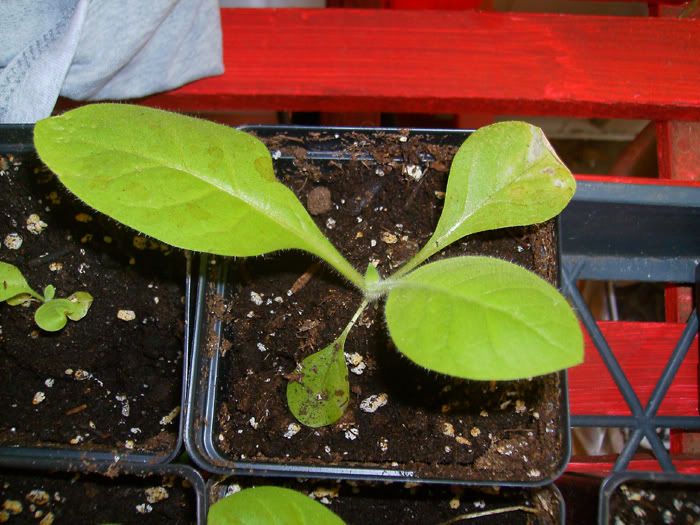
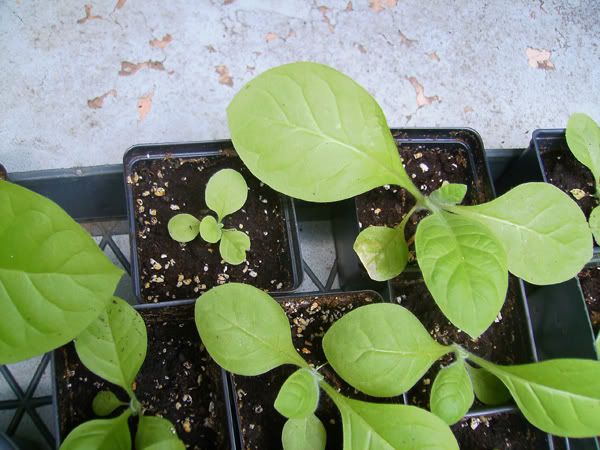
    Long Red Leaf (one plant - two pictures):
    You can see how much smaller the Florida Sumatra is in comparison (it's on the left). The ends of their leaves are somewhere in the middle between the roundness of Black Mammoth and the points of the Argentina.


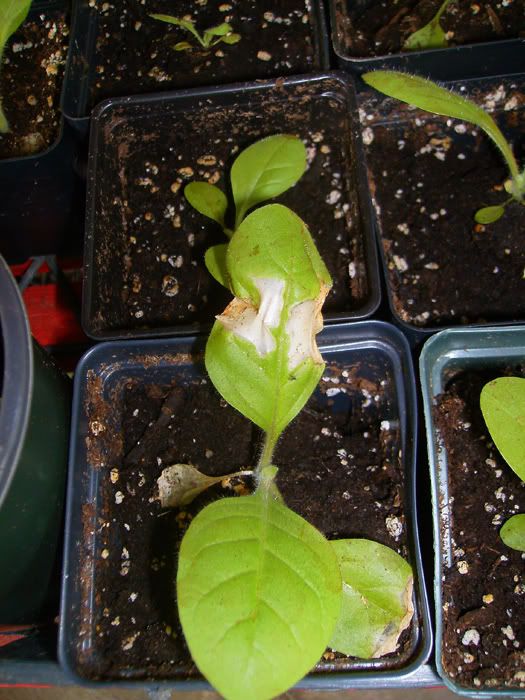
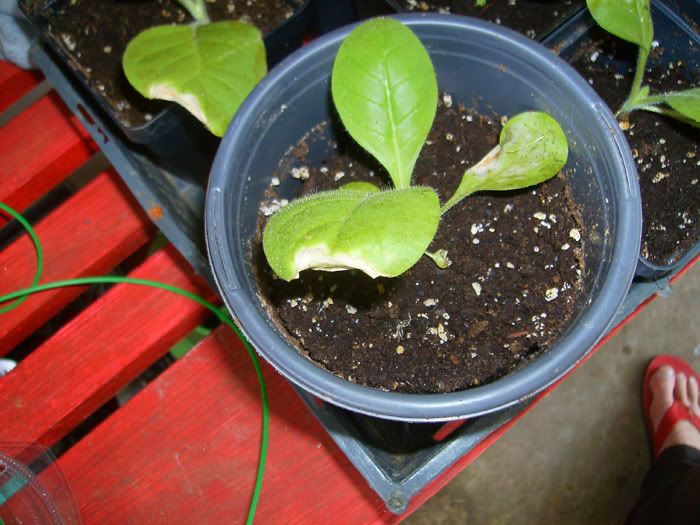
    Trouble plants: I'm not sure what to make of these. Here's what I think happened. A few days after I re-potted these plants, I kept them in the sun - it wasn't too hot (maybe low-80's), and I thought it would be okay. My guess is that the plastic got too hot, and scorched the still-virgin leaves that touched the edges of the plastic pots. They continue growing okay, but look worse and worse. Hopefully, the rest of the plant will outgrow these and I can trim them off. We'll see. There are a couple other plants that have a similar look to them, but these were the most prevalent.

    Black Mammoth:


    Smoked has a MUCH better tobacco garden than I do, however. Care to provide insight on identifying characteristics of the plants?

    Thanks for reading............
    Last edited by mrtr33; 05-14-2010 at 02:44 PM. Reason: spellling/communication/coherence


    Age Quod Agis

    1 Strike

  7. #7
    Join Date
    Sep 2007
    Location
    Denial.
    Posts
    400
    Blog Entries
    30

    Default Mid-May Update - 8 Weeks of Progress... and beer... and cigars

    Cues to plant I.D? … Now, that’s a question for a tomacco professional. Let me look more closely at each variety and I’ll try to come up with a few identifiers. They only way I can keep track currently is by segregating the varieties when they’re in the early stages and by marking the containers when they’re ready for step-up. When they go in the ground, I’ll simply note what is in each row. I may need to hang a scarecrow to keep birds and wildlife away. I’m thinking something like this:


    Seems to be working great in the Gulf. …or maybe a poster of mailman’s former sig tag.


    A few notes so far:
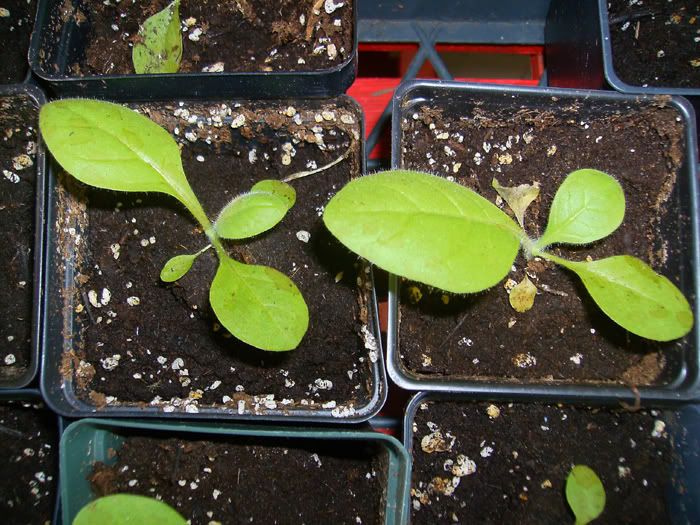
    1. I like the aluminum tray with a translucent ‘sticky wrap’ cover for seed germination beds. I’ll do that again, but I may opt for the larger size to accommodate an intermediate step-up.
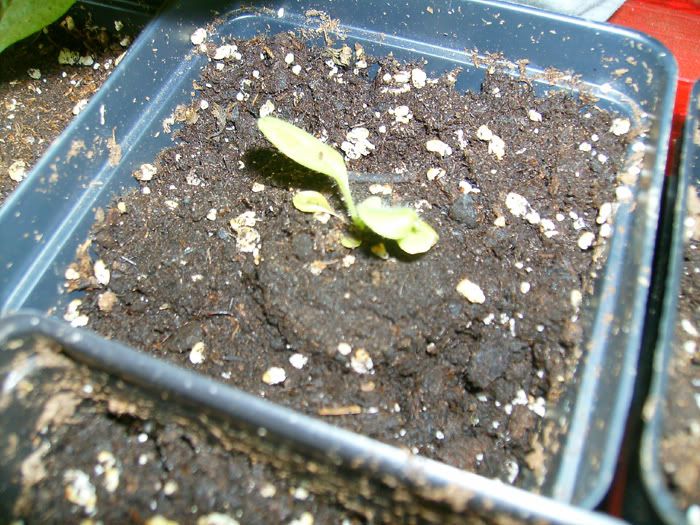
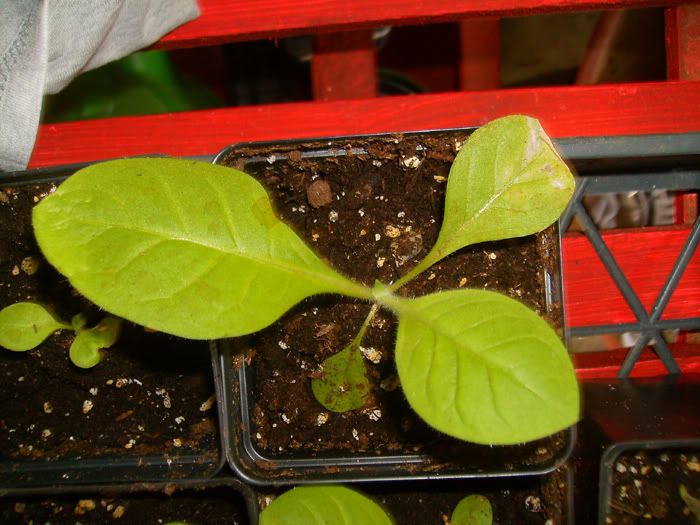
    2. Step-up to peat pots more quickly, or sow directly into them next year.
    3. Step-up to larger containers. The 5 inch peat pots were ok, but the really small ones were a waste of time. For a second step, if necessary, I believe the additional space in the one gallon pots will allow for better root development and help form stronger, straighter stalks. These plants spread out quickly and need lots of space.
    4. Set out in direct sun earlier for hardening off.
    5. Apply fertilizer carefully in the early stages, but feed them regularly once they are established. They are heavy feeders and suck up every available nutrient.
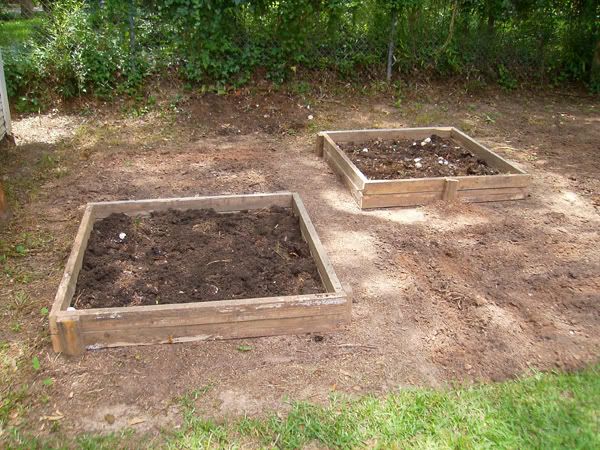
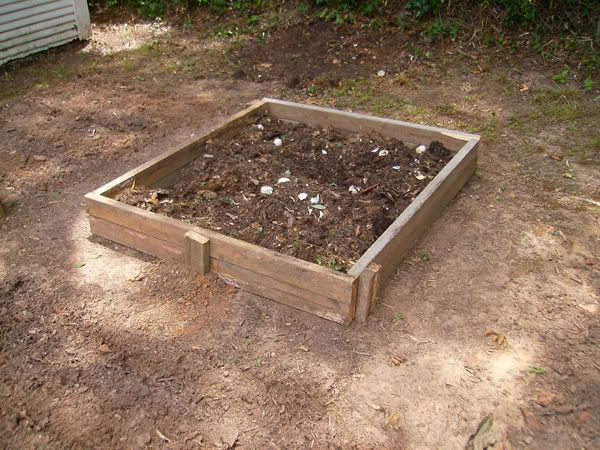
    6. Plan ground space early. It appears that these guys are going to need much more room to spread out and fully develop than I anticipated. At this point, there is too little space in the plant bed to accommodate them all. I may have to chop up part of the yard.

    Attached are some of the latest photos. For some reason, I can’t locate all the images. It is likely I filed them incorrectly when I downloaded them from the camera. It’s no great loss. Check out the tomacco pr0n:

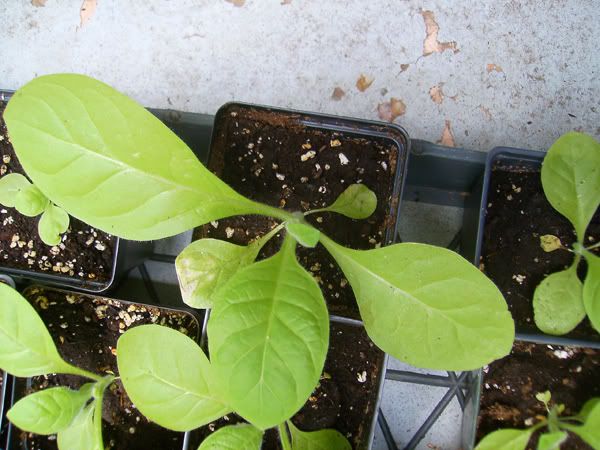
    Remember the ‘wishful thinking’ photo of the lone BM that I put in a one gallon container on a whim? How do you like her now? If we do this again, I think using large containers for step-up and hardening off may be the plan for next year. I think they may be easier to move around and will have a better chance to develop strong roots. Note the leaf damage on the edge of the plastic container. It looks just like mrtr33’s.

    May 08:


    May 18:


    Below is a smaller BM that I pulled out of the tray. It is in one of the small peat pots and desperately needs more space. Notice the yellowing leaves to the right and the small brown leaves on the top left. These need to be removed along with any other inferior leaves to promote better stalk and leaf formation. You can see that the spread on this little guy is already more than one foot. Are we stepping into the Little Shop of Tomaccos?


    Here is a shot of the FS tray. Note the plants on the bottom left. Those are the TWE Smack Down contestants. The ones behind the ruler on the left are the split plants. They seem to be doing just fine. In the foreground, you can see the plant on the bottom right has leaf damage from the edge of the pot similar to the effect mrtr33 pointed out. The leaves seem to damage easily regardless of the material they contact. Note to self: Fill pots to rim to prevent leaf contact.


Thread Information

Users Browsing this Thread

There are currently 1 users browsing this thread. (0 members and 1 guests)

Bookmarks

Posting Permissions

  • You may not post new threads
  • You may not post replies
  • You may not post attachments
  • You may not edit your posts
  •